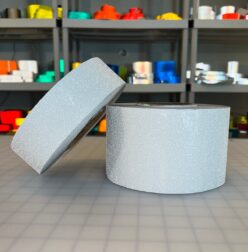
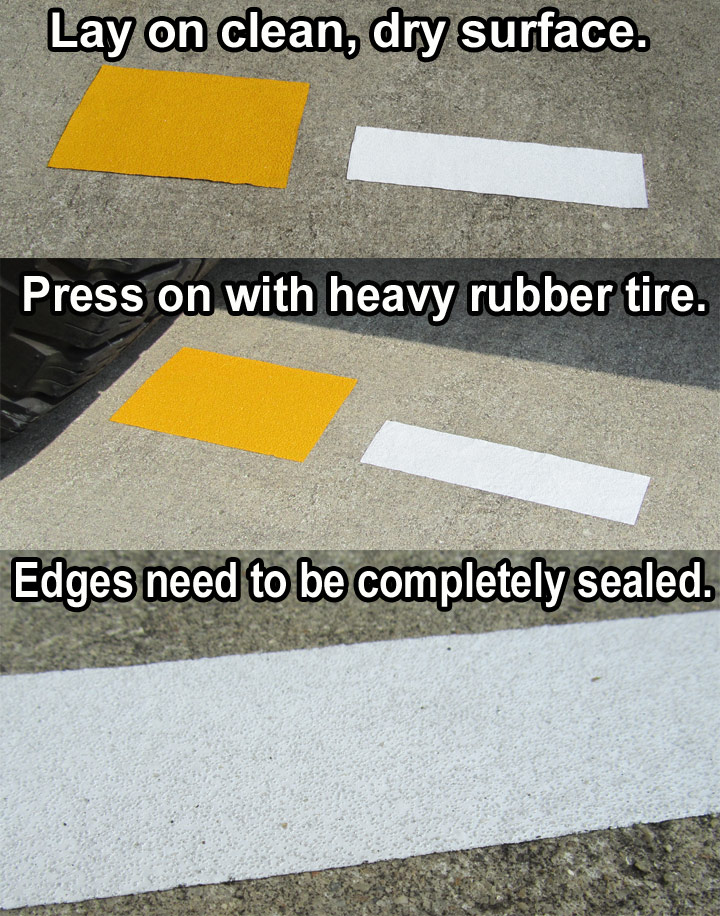
Installing our pavement or floor marking tape is very easy. First, the surface must be clean and dry. Use a broom, blower, or if necessary, a pressure washer to thoroughly clean all dirt, grease and grime from the surface. The tape needs to adhere to bare asphalt or concrete. If you use a pressure washer or water for cleaning, make sure to allow the surface to dry completely before applying the tape. Also, it should not rain for at least 24 hours after application to allow the tape time to seal and set.
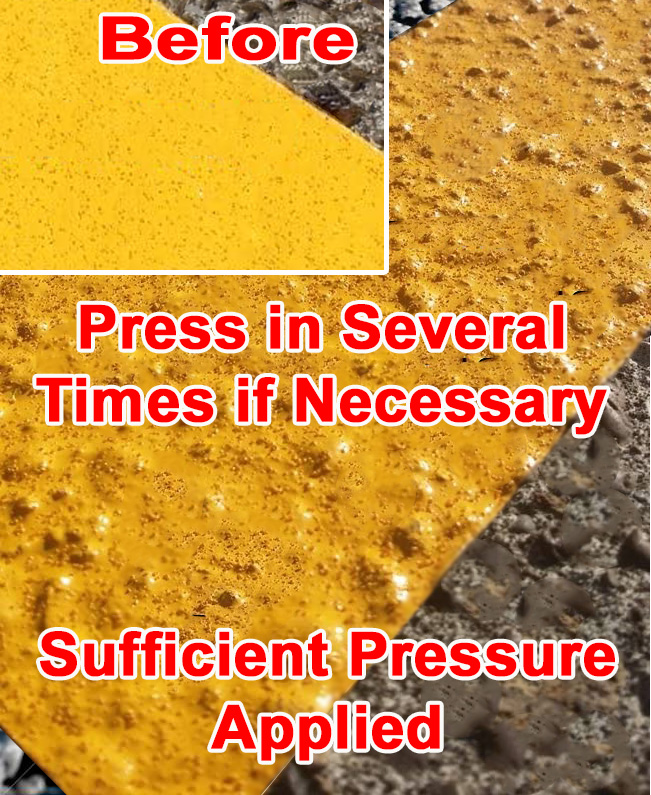
After the surface has been prepared, simply roll off and lay down a section of striping tape. At first, press it in by walking on it. Then, once it is firmly in place, roll over the tape with a bouncy rubber tire like on a car or golf cart. If neither of these are available, a rubber tired dolly with cinder blocks on it will work. Also, a rubber mallet can be used. Remember, the object is to conform the tape to the surface so that it becomes the same shape and makes 100 percent contact. If you do this, the application will be successful. If you do not press it in sufficiently, water and dirt will get under the tape and cause it to lift.
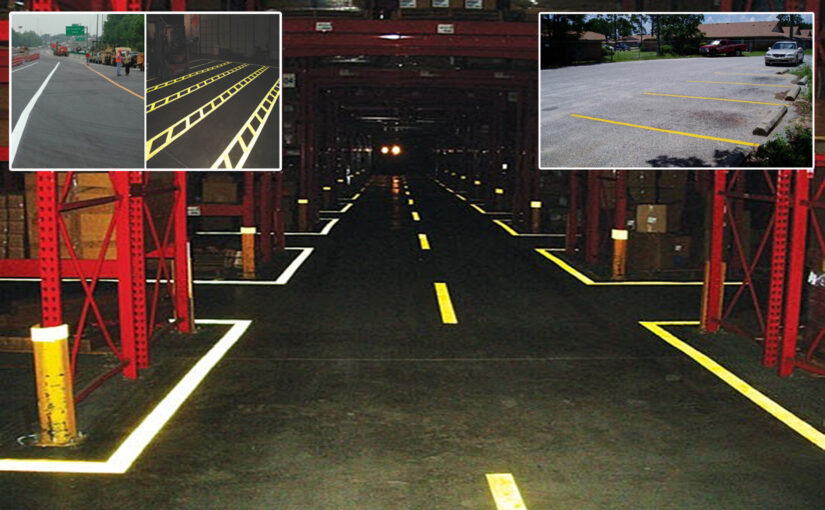
Note – for areas where fork lifts or tires will be twisting on the tape, DAP contact cement can be used as a primer. Apply it to the area where your stripe will go, let it dry completely, and then apply and press down the aluminum based warehouse striping.